Death Valley in 3D
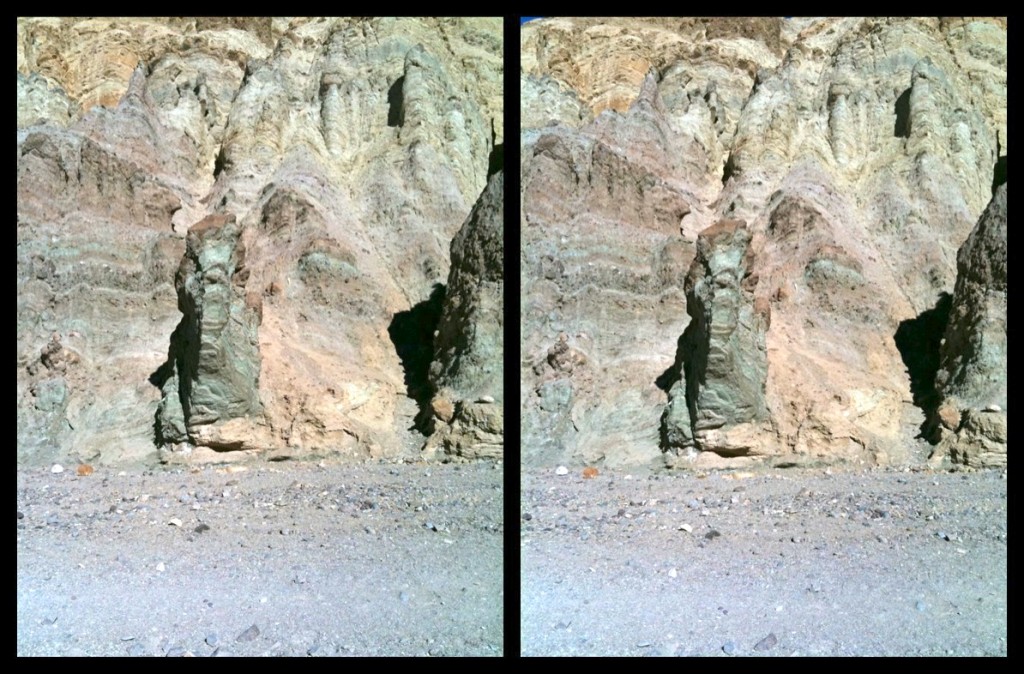
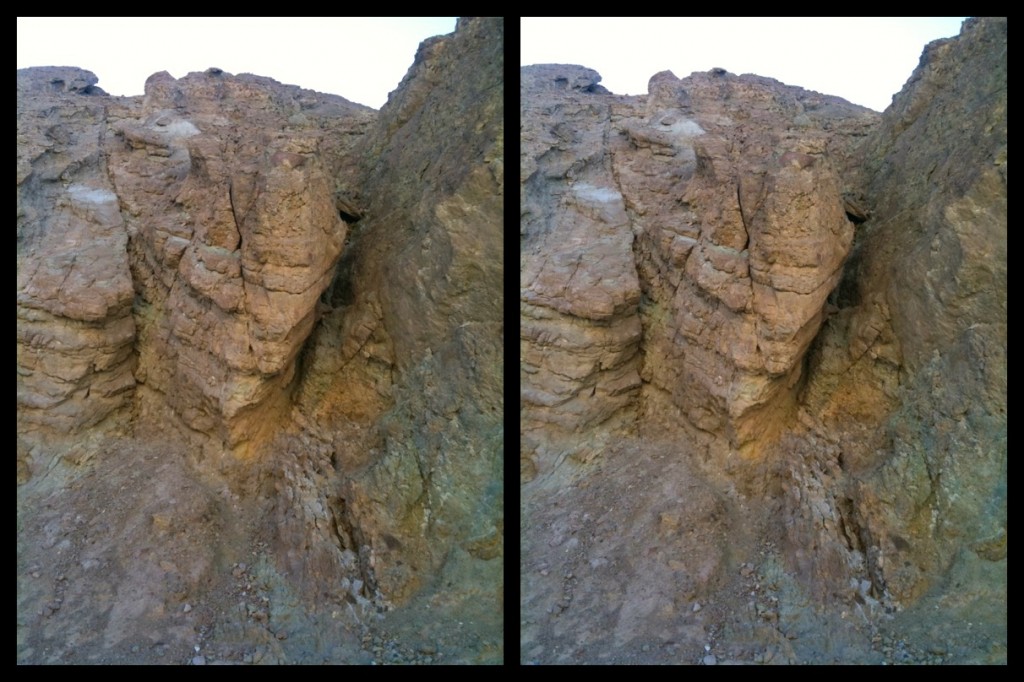
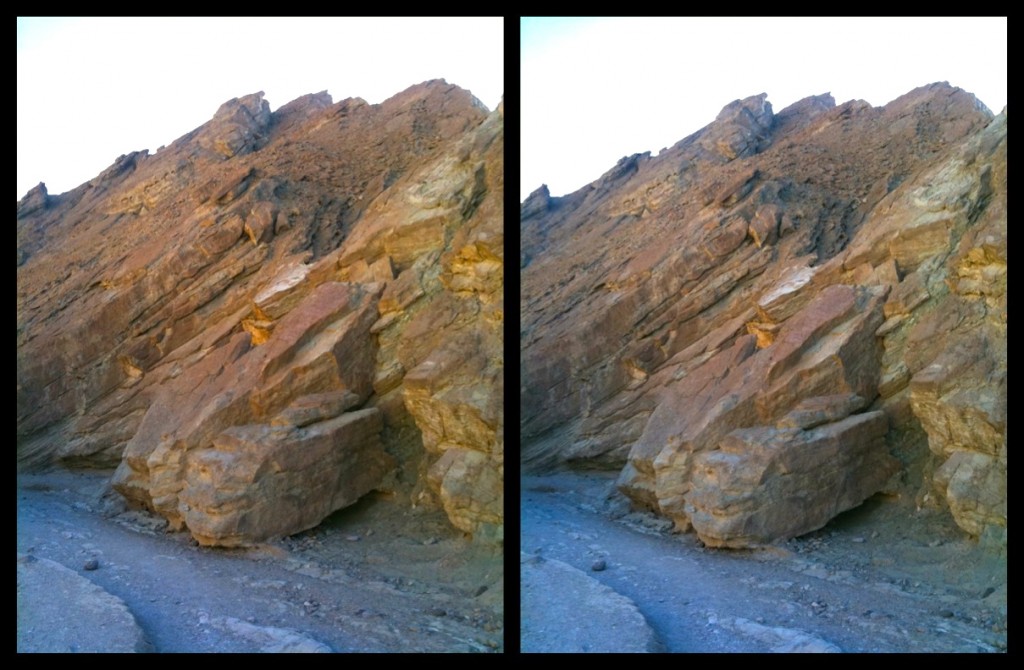
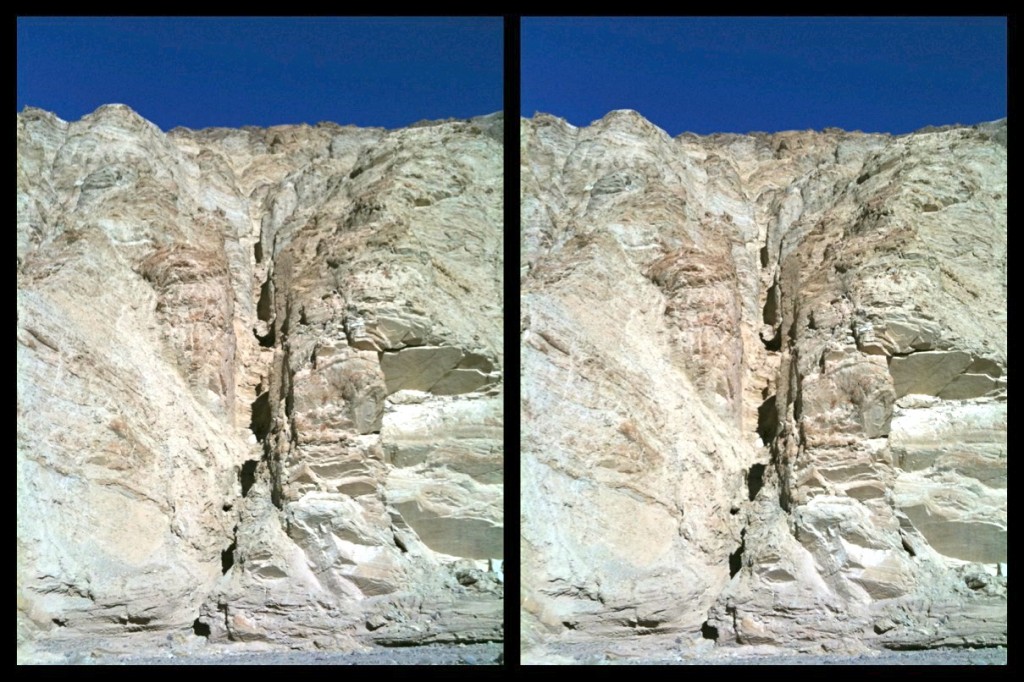
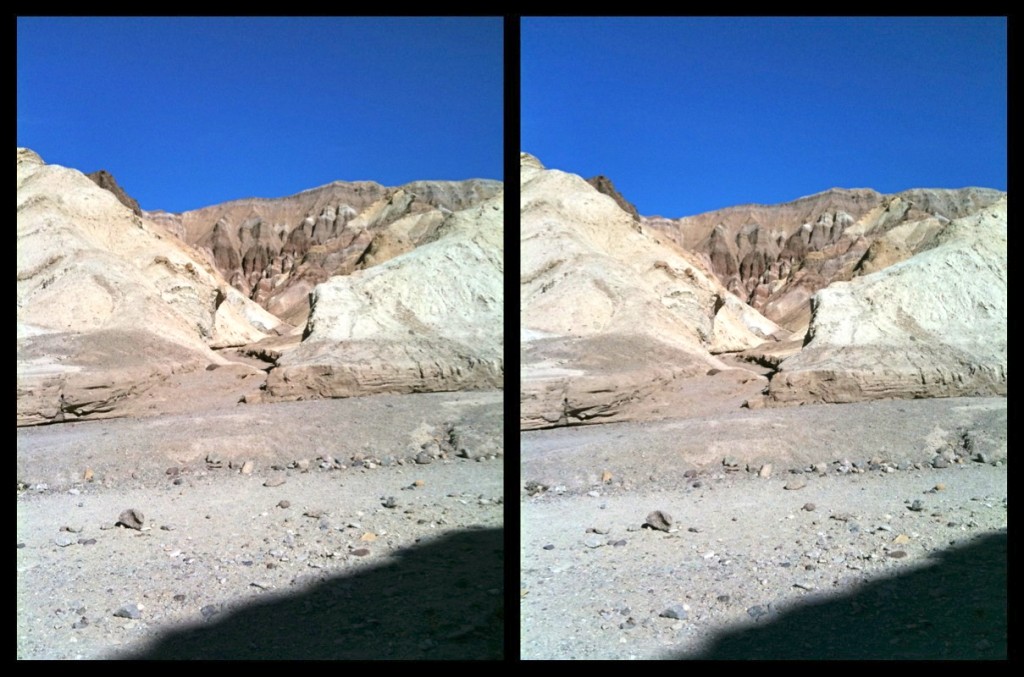
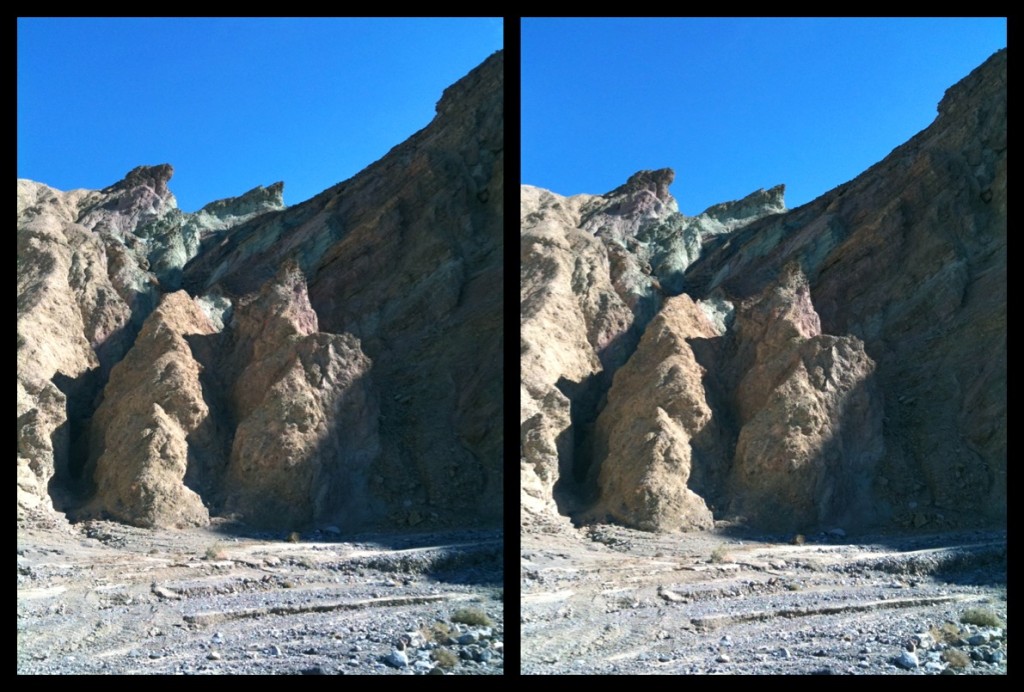
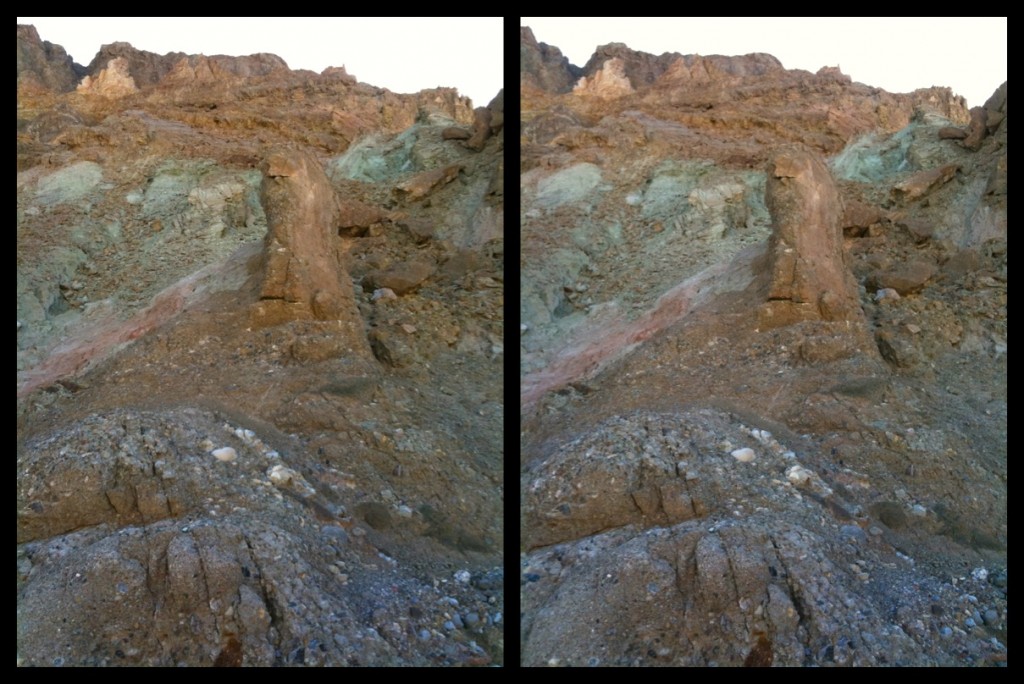
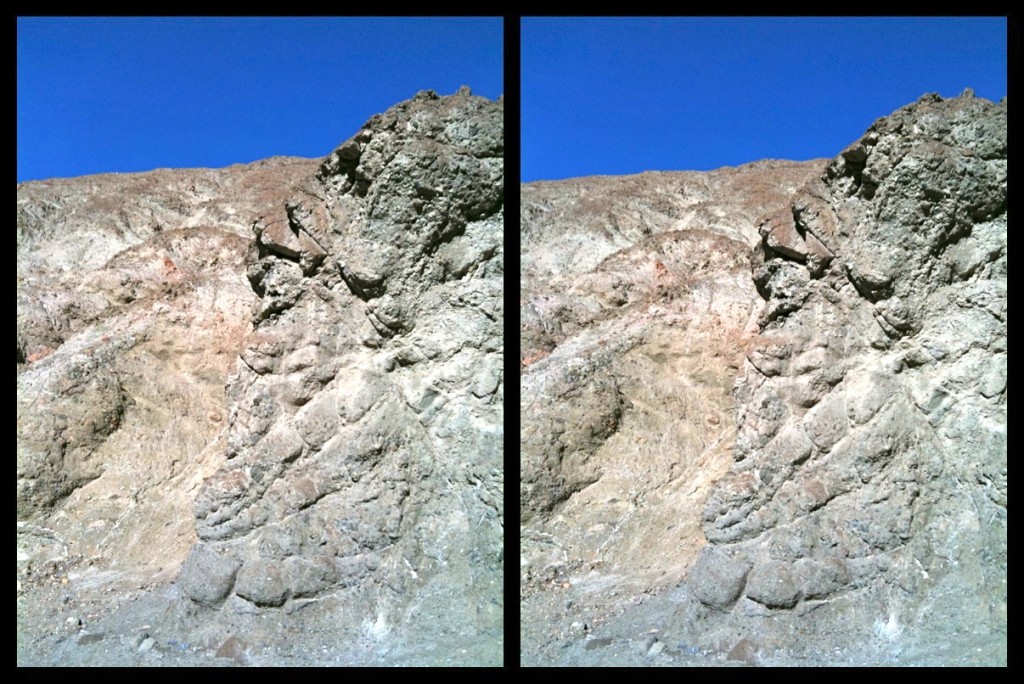
Another batch of 3D pictures for you. For those who asked about the Uluru pics last week, these were taken with my iPhone using a handy little app cunningly titled 3D Camera. You take one picture, then you move the camera to the side a bit and take the other. Presto, a 3D pic.
These were taken a couple of weekends ago when my son and I took a quick weekend road trip to Death Valley, which is one of my favorite places. They're mostly taken in Golden Canyon, which is a popular hike.
Cross your eyes to see them. If you have trouble, some people find it helpful to put their finger on the picture and bring it toward their eyes, focusing on the finger, until the two pictures converge; then change your focal point to the screen. Click for full size.
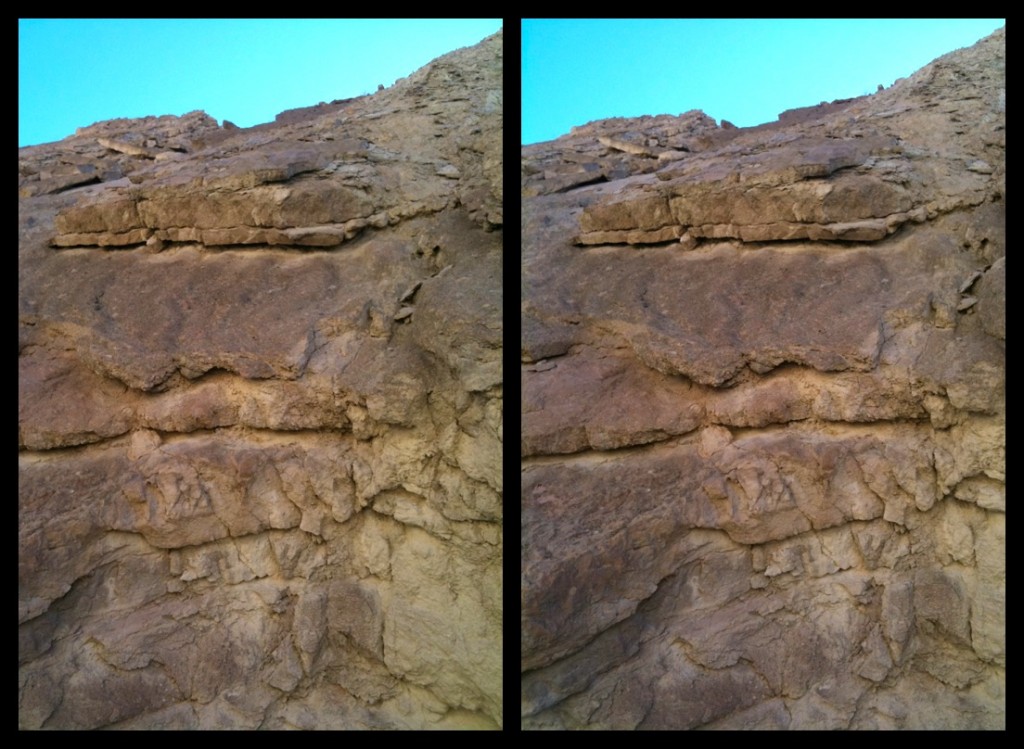
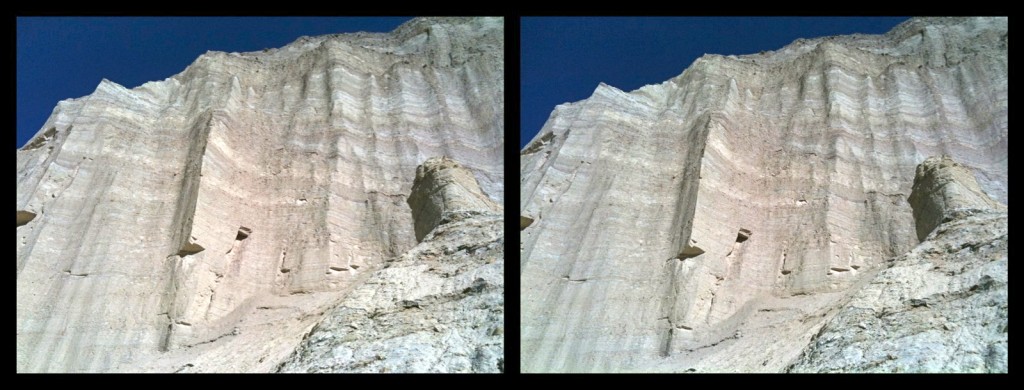
This one is especially interesting. The exposed flat surface is rippled. It's the floor of an ancient riverbed of rippled sand, which fossilized and was covered up by newer layers.
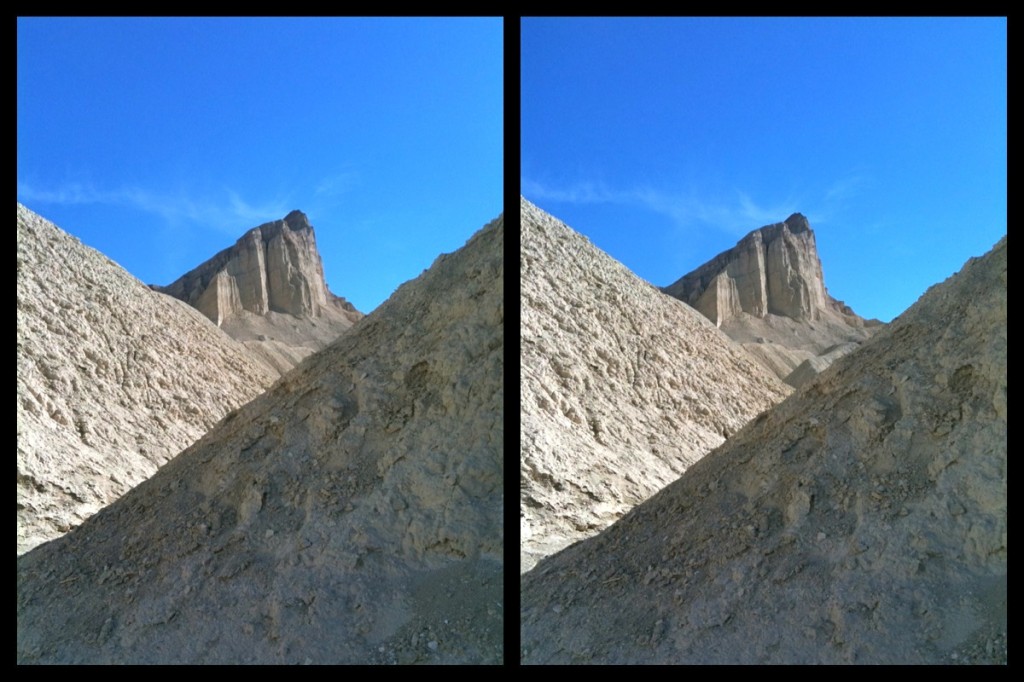
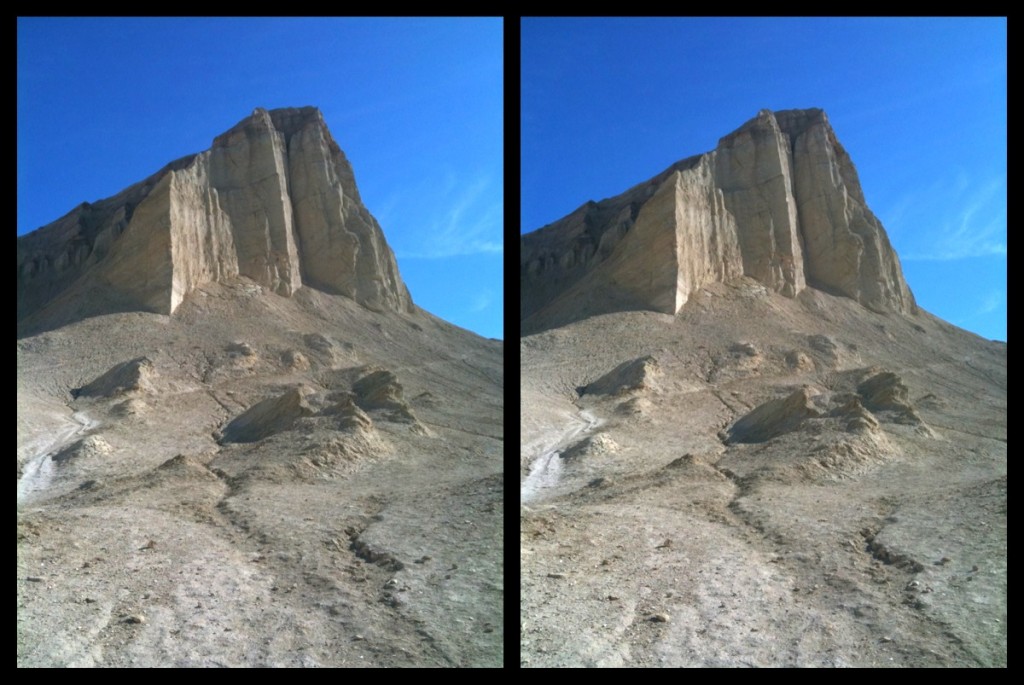
These next few are of a prominence called Manly Beacon:
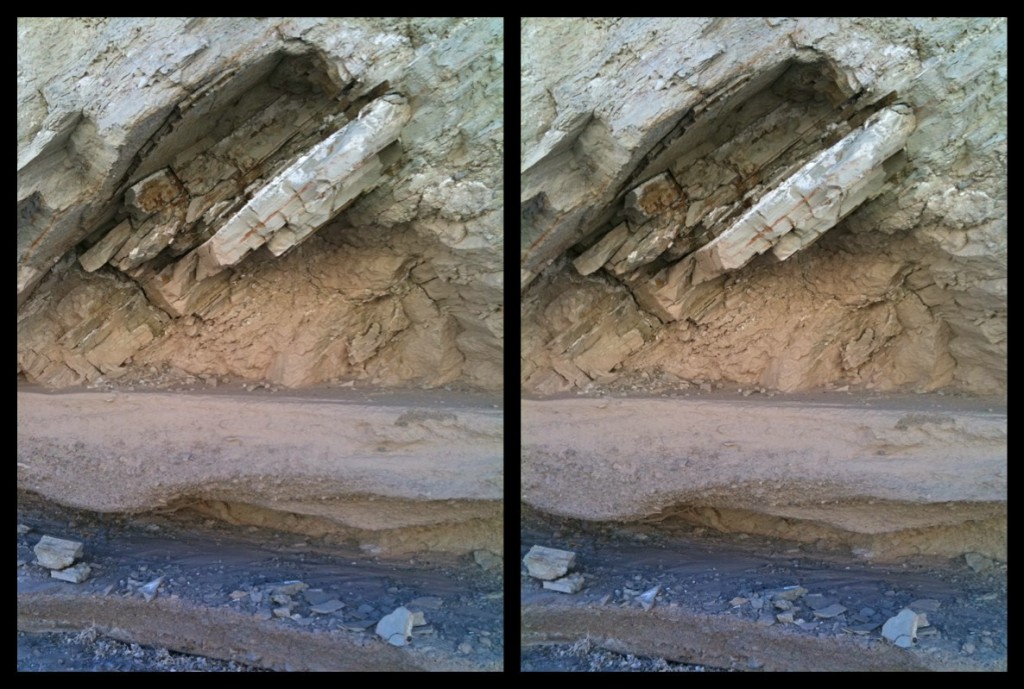
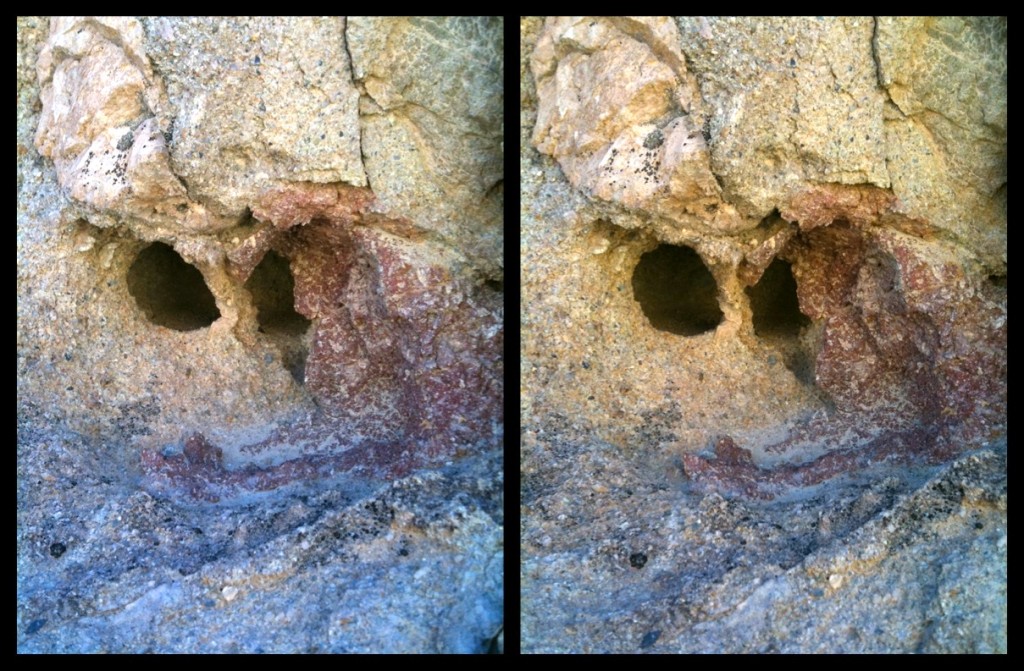
This is an extreme closeup of a neat little cubbyhole I found in the canyon wall. Although the 3D seems exaggerated, it really was this deep:
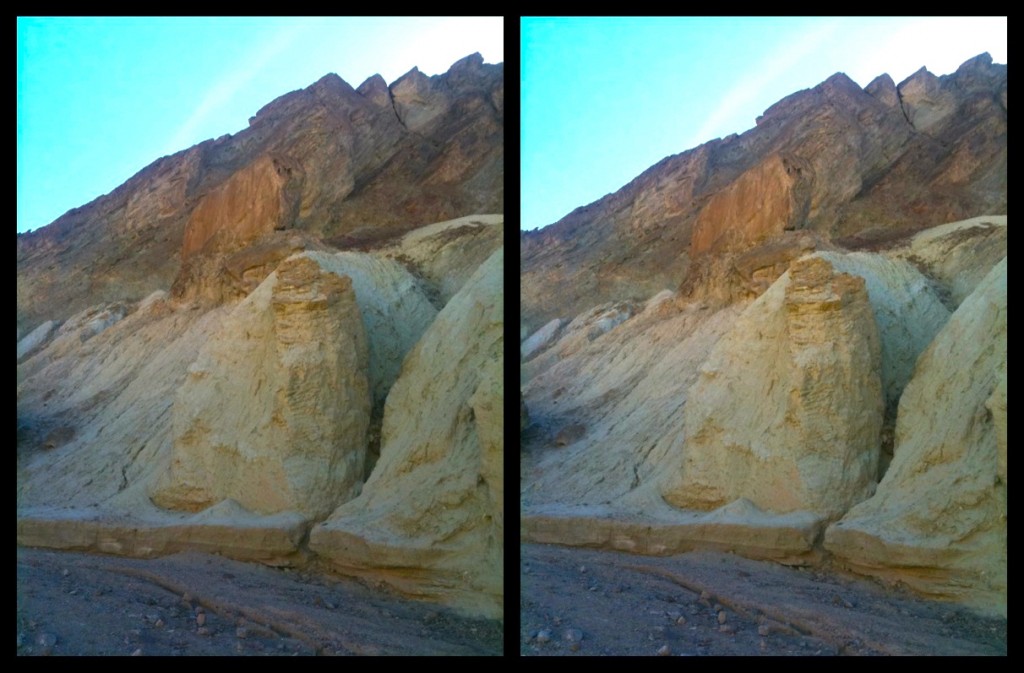
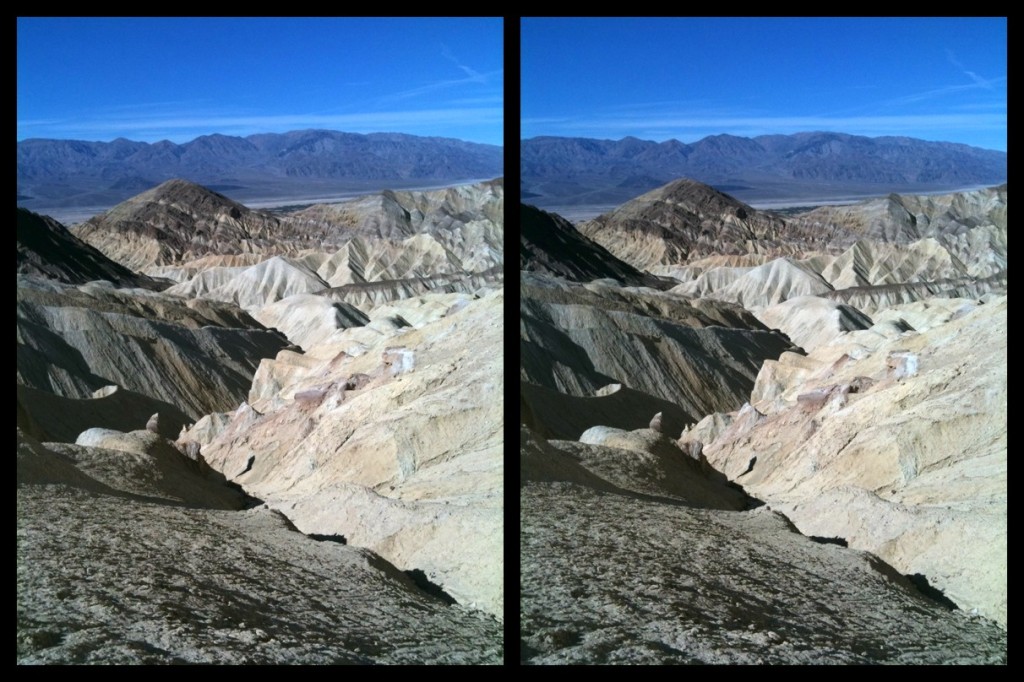
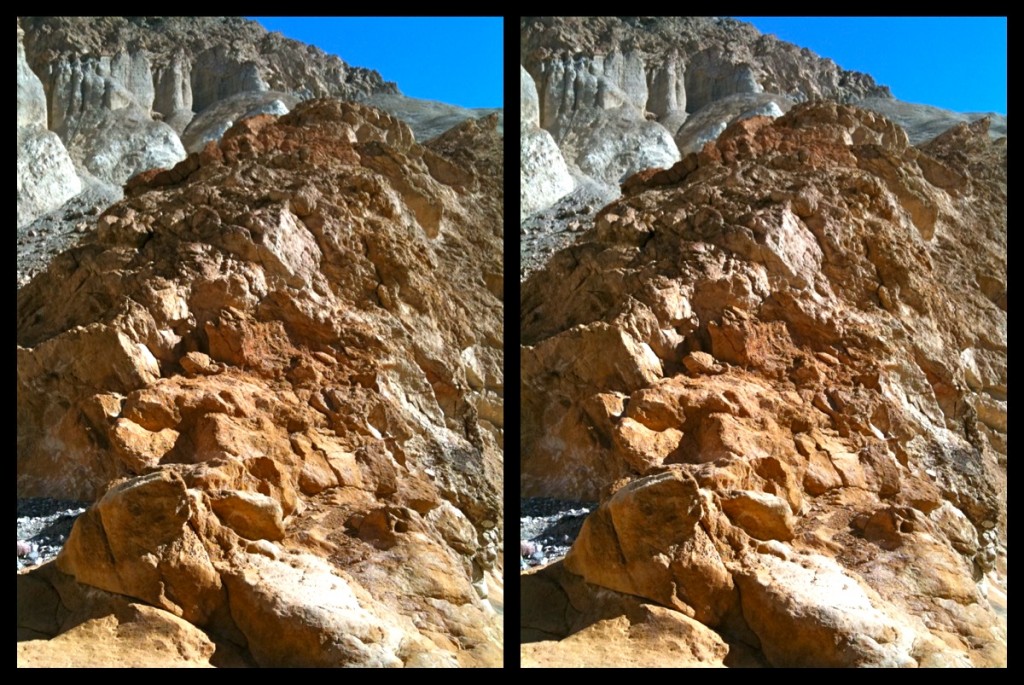
The colors can't really be captured on an iPhone, but this orange was absolutely retina-burning:
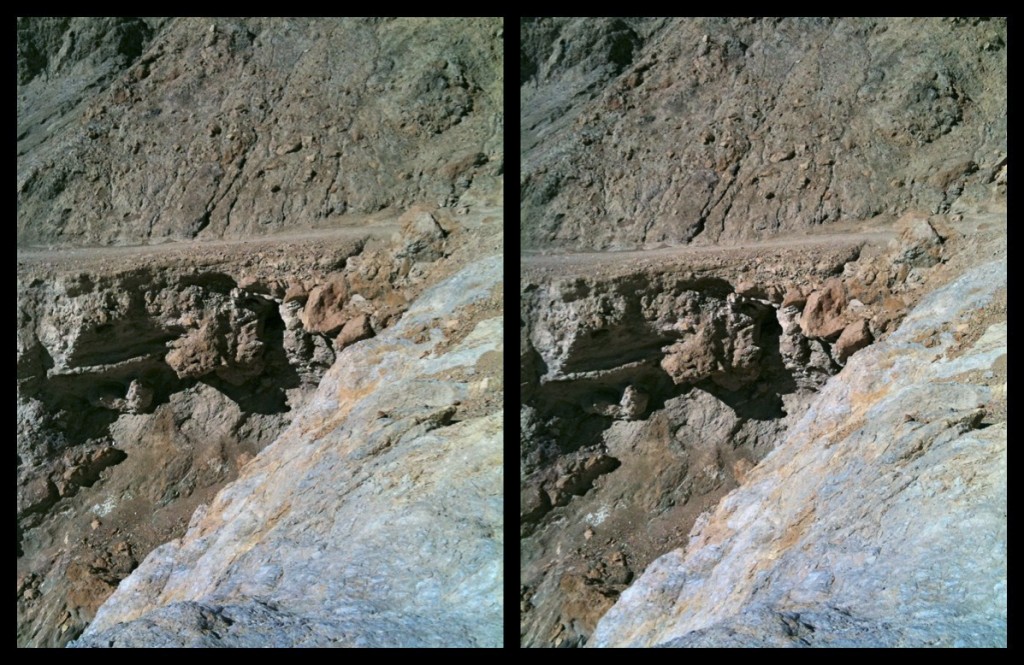
Note how the trail was completely undercut in this place:

Cool stuff Brian. Reminds me of my old view-master. Does the app create the double, side-by-side images seen above?
Pain. Eyestrain. Ow.
I don’t know if I’m doing something different from the way one is “supposed” to view these 3-D images, but they all appear backwards to me. The left and right images are swapped. The parts that are supposed to stand out instead recede into the background, and vice-versa.
If I save them and swap the images, though, they look beautiful, so thanks for sharing.
You are doing it the hard, magic-eye way. By focusing on the far distance. These are actually easier to see, you just cross your eyes till they align, similar to the magic eye way. Look at the end of your nose, thats teh way they should be crossing.
Where is the Gorn from Star Trek?
For large mountains and features like that, try a few “hyper-stereo”. You do that be increasing the interocular distance (the amount you move the camera) a bit farther, that forces the 3D effect even more. Doesn’t work with things that are close in the foreground, but would be great for images like these!
Awesome pictures!
@Carl: Are you crossing your eyes?
I assumed at first you must be going wall-eyed instead of cross-eyed, but when I try to resolve the images wall-eyed I can’t do it (the pictures are too big). I’m quite stumped on how you’re seeing them reversed.
They’re not too big on this page on a laptop screen to see wall-eyed.
Great pics!
Wall-eye is the way to do it. I’m using the images as seen above (not zooming in) since on my screen, they are about the natural separation distance of my eyes.
Finally, and as someone said earlier, ow! eyestrain!
I find it much easier to look at “3D” this way, using “cross eyes”. I can manage the trick for images printed the other way if they are small enough and closer together, but I can do it much more effectively by using the “cross-eye” technique. Maybe it’s the fact that I was fascinated by “3d” at the age of 10 and spent a lot of time practising the “cross-eye” method. Now at 66 I find I can still do it. Given the way our eyes are designed I suspect that it is physiologically much easier to do for most people, but maybe I’m wrong.
For distant perspectives using a wider position for each “eye” is worth considering, as previously suggested by another commentator.
@Carl
I played around with using the Drift Method…where you let your eyes go out of focus and let the two images overlap and then they “lock in.” This reversed the images (smaller version only) for me too and it was actually very cool. Reversing the images works to see them correctly, but I would suggest practicing looking at them cross-eyed until you can get it to work.
Brian – thank you, I really enjoyed looking at the pics!
Oh, no–Mom was right! My eyes stuck like that!
I especially like the one just after ‘covered up by newer layers’. Without stereo these rock walls look more or less flat, and only the three dimensional effect reveals the bumps and crevices.
If your computer screen is glossy, you can learn parallel-eye 3D viewing by focusing on a reflection in the screen.
This started with stereopticon viewers, and there is a website called “The Magic Eye” where you can learn how the effect works and train your eyes to see it. It’s something like learning to whistle (when you get it, you will know):
http://www.magiceye.com/faq.htm
Brian, maybe you will start a new craze.
Awesome, awesome, awesome! Takes a bit of practice but just relax–eyestrain not necessary!
Nice! A cocktail helps relax the effort. Imagine trying to watch Avatar in 3D like that though!
For those having trouble seeing the 3D images, try the technique described below. It works really easily for these pictures because they’re framed in black. Move your eyes about 2 or 3 feet away from the pictures (depends on the size of the pictures: the bigger they are, the farther away you need to be) and relax them as though you are focusing on a distant object. Try to “adjust” your distance focus so that instead of two seeing two images side by side, you see three in a row. The images may appear blurry but don’t worry about that yet. Now, and this is important, tilt your head from side to side to perfectly align the black frames so that they are horizontally straight. If you don’t get them straight, it’s almost impossible to get it to work. Now start to look at the middle image. Do it gently so that your focus doesn’t snap to the two pictures in front of your face. Do it so you retain the three pictures. Now, for me, the 3D image pops out at this point. Maintaining your focus on the middle picture you can move closer now to get a better look. If your eyes snap to two pictures, start over.
I saw a “shadow person” because of this illusion. I was half-asleep when I saw a figure standing at the foot of my bed. It turned out to be just some stuff near the wall, but it seemed nearby because my eyes were focusing on the wrong distance.